How To Assemble My New PetSafe® FlexFeed Automatic Pet Feeder
If you need to completely reassemble your pet feeder, visit How To Clean and Reassemble My PetSafe® FlexFeed Automatic Pet Feeder.
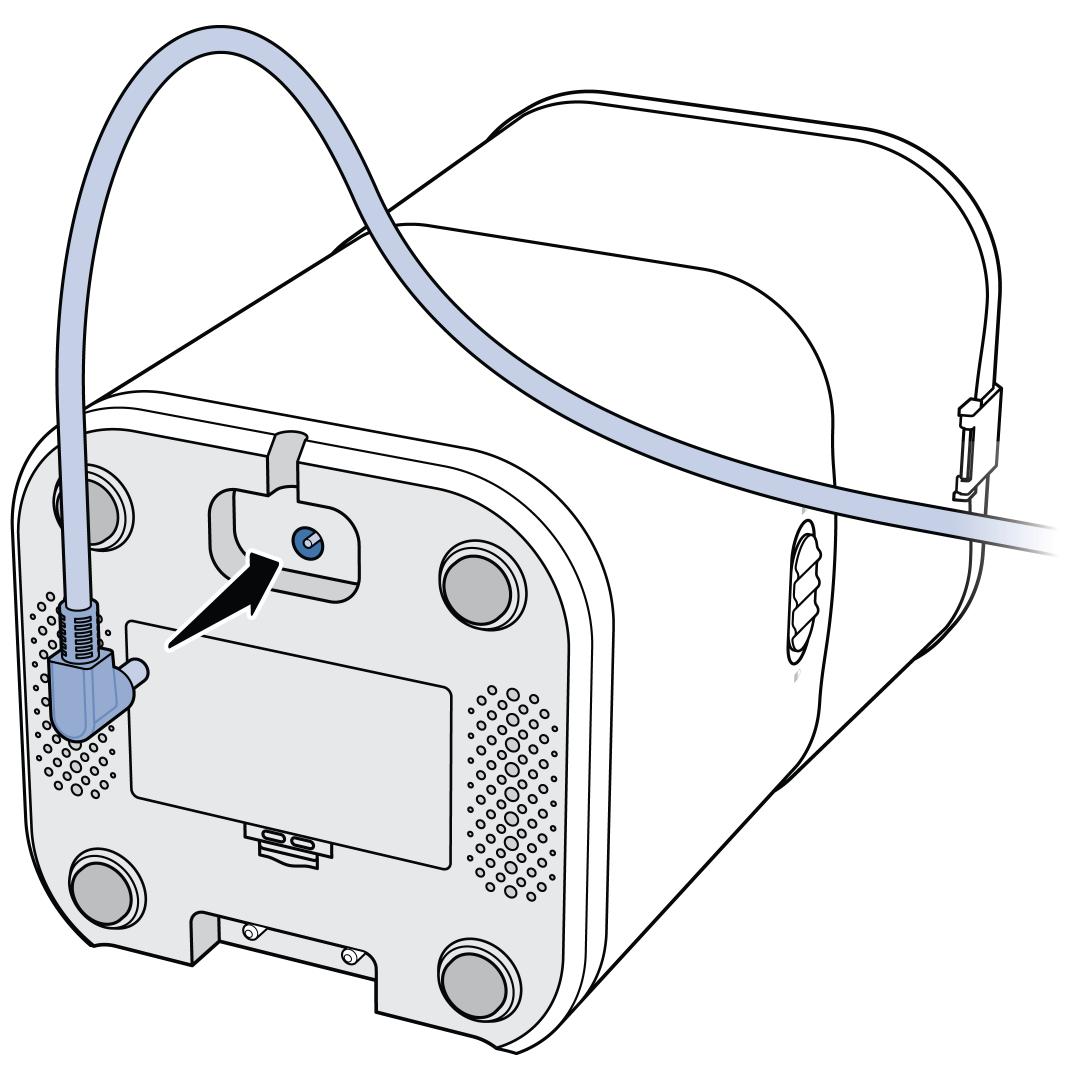
Turn the feeder upside down and connect the power adaptor to the feeder and the other end to a wall outlet.
Optional: Insert 3 D Cell batteries into the bottom. This ensures that your feeder will still have power during a power outage.

Return the feeder right side up. Unclip and remove the food hopper lid.
Fill the feeder with dry kibble. We recommend ¼ - inch to ½ - inch (5mmm-12mm) diameter. DO NOT use canned, moist, semi-moist, or wet food.
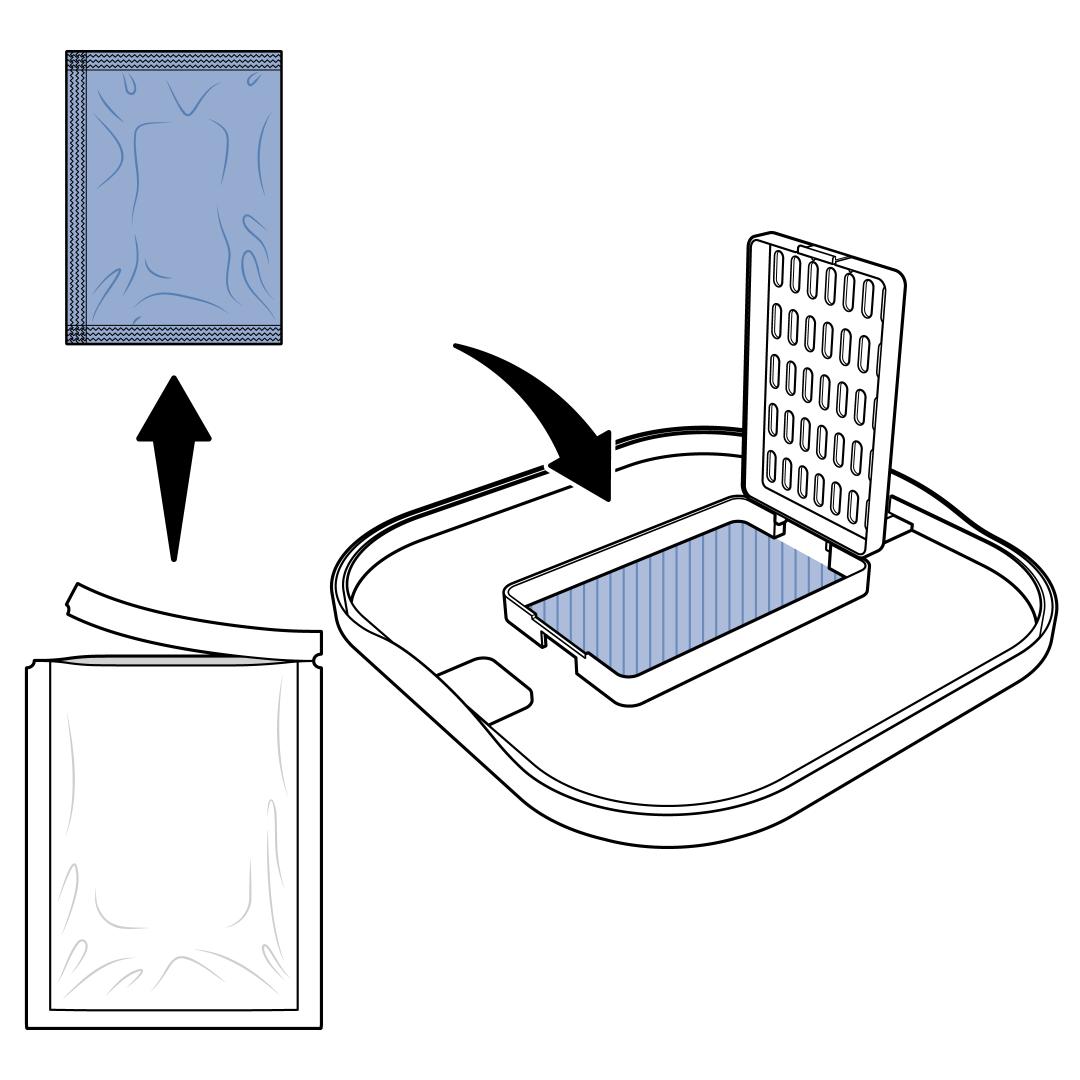
Open the compartment on the underside of the hopper lid. Remove one of the Food Savor Pouches from its outer packaging and place it into the compartment. Snap the compartment closed.
Important: To prevent mold and keep the feeder running smoothly, replace the pouches every 30 days.
Place the lid on the food hopper and fasten the clips to hold it in place.
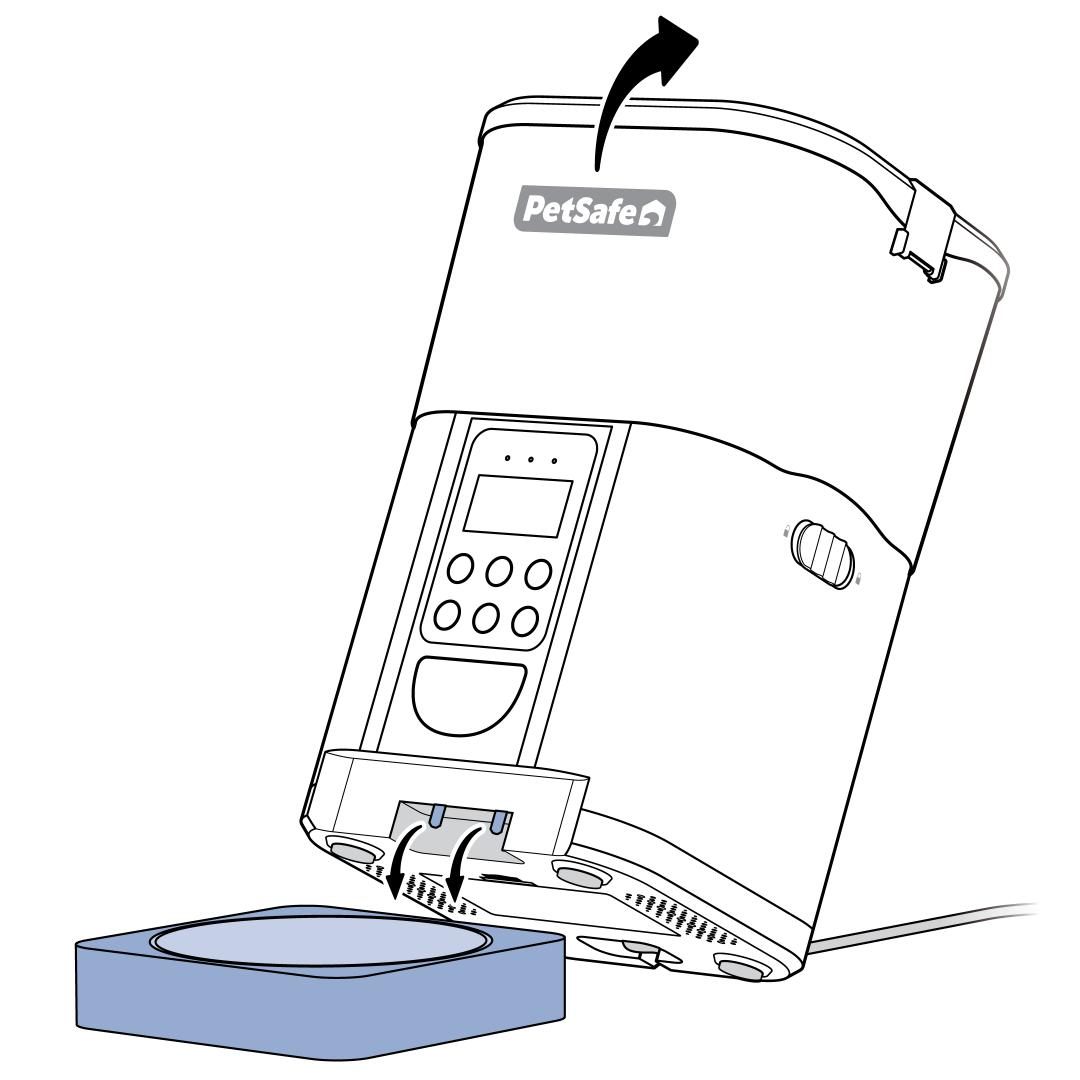
Tilt the feeder backward and slide the food tray into place at its base. Lower the front of the feeder to secure the food tray.
Once you complete the assembly, set the feeder’s clock. For more information, visit How To Set the Clock on My PetSafe® FlexFeed Automatic Pet Feeder.