How to Install the Cat Corridor™ Interior Pet Door
Your Cat Corridor™ Interior Pet Door will give your pet the freedom to come and go, so you can drop the doorman duties and just enjoy being a pet parent.
Keep in Mind
Acclimation time will vary with each cat.
For cats up to 20 pounds.
For use on interior doors only.
Preparation
Please have the following contents from the box and additional tools ready prior to installation:

Interior Frame

Exterior Frame

Cutting Template

Screws x4

Screw Plugs
Jigsaw

Drill

Tape Measure

Phillips Screwdriver

11mm Drill Bit

Pencil

Masking Tape
Installation

Remove the door from the hinges.
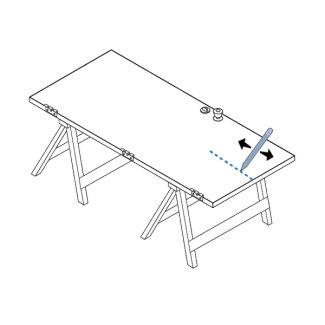
Lay the door on a flat surface and mark the center with a pencil.
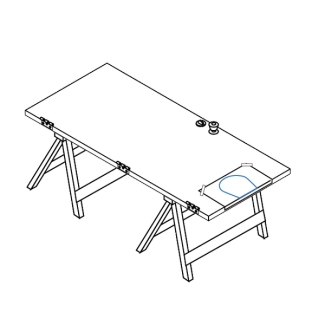
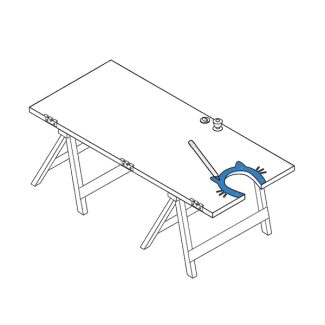
Align the template with the center of the door and tape in place.
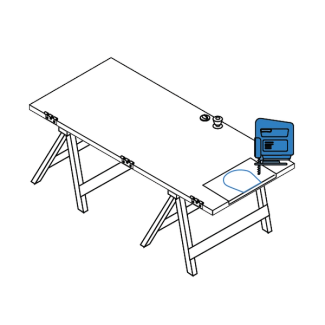
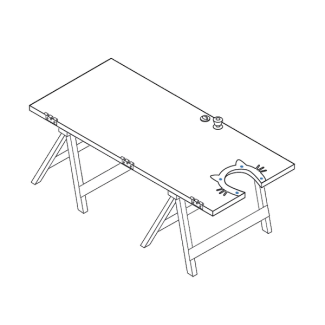
Use a jigsaw to cut along the black lines of the door template.
Align the interior frame with your newly cut hole. Mark the four screw holes with a pencil.

Drill the marked holes with an 11mm drill bit.
Align the front and back frames with the drilled holes.
Hold the two frames together and manually screw the frames together. Attach screw caps when completed.
Contact Customer Care
If you need further assistance, please contact our customer care team.