How To Set Up My PetSafe® ScoopFree® Crystal Plus Self-Cleaning Litter Box
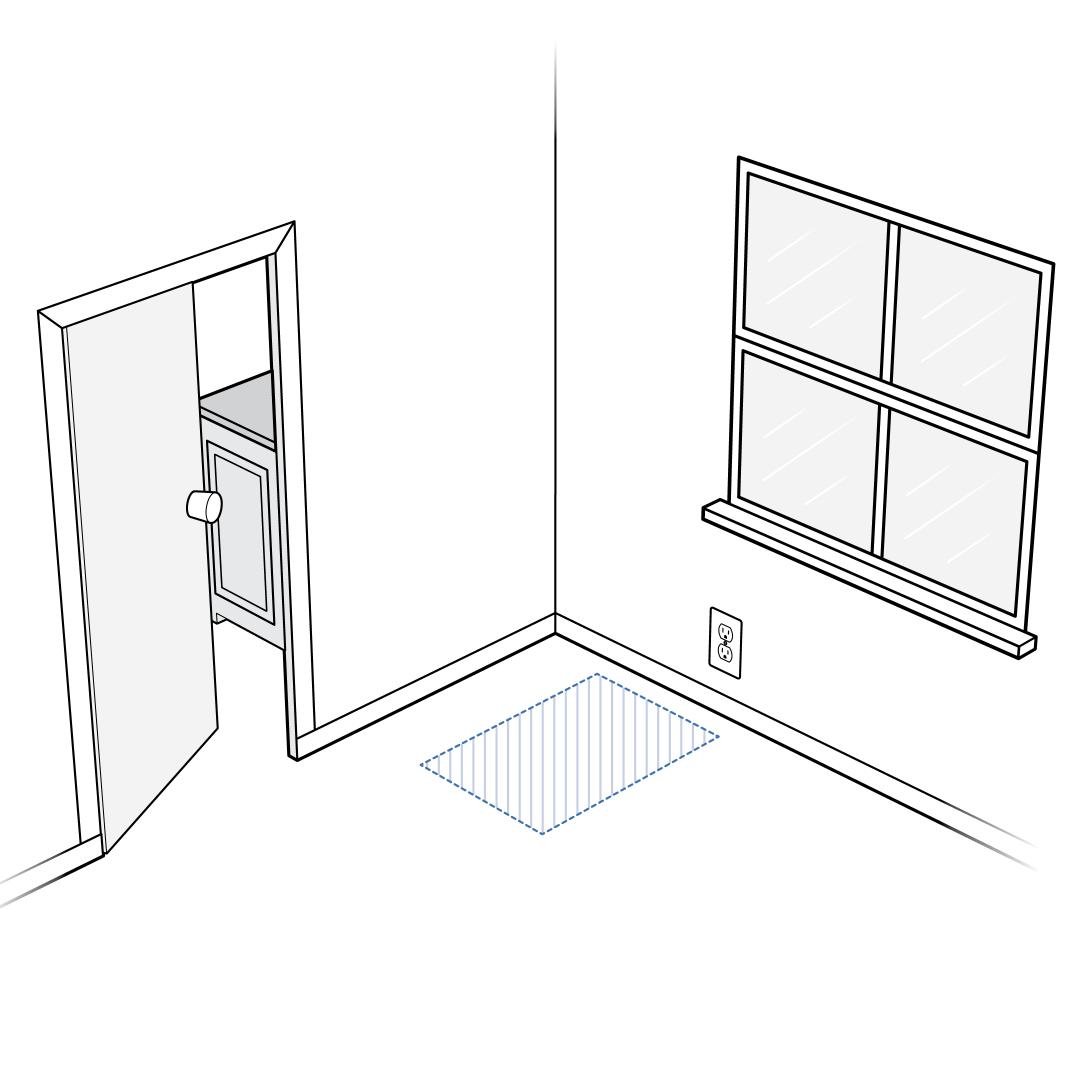
Select a dry area with good airflow to maximize tray life and odor control near a standard wall outlet. Do not place in a high-humidity area such as a bathroom or laundry room.
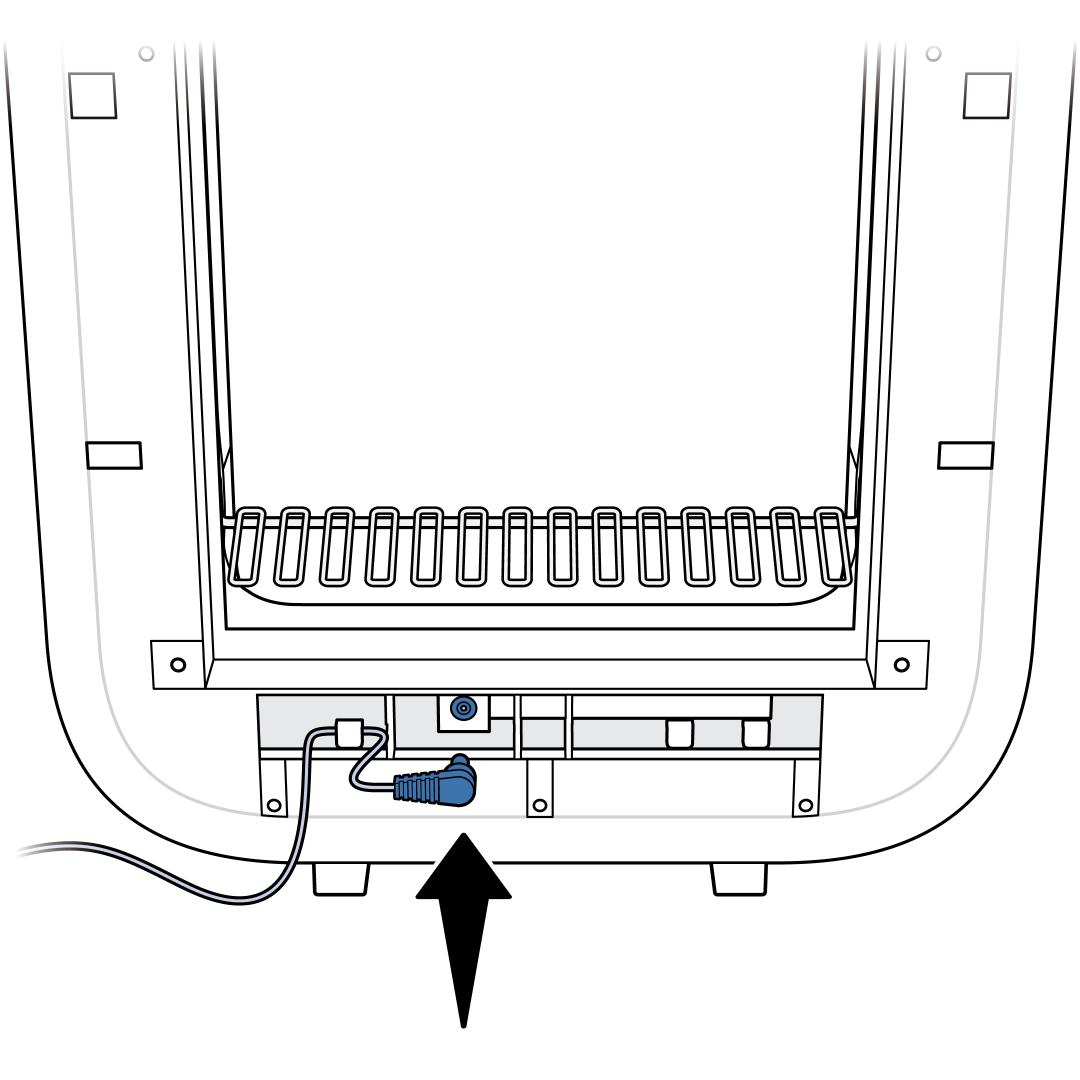
Insert the small end of the power adaptor into the socket on the bottom of the litter box frame. Slide the power adaptor cable under the clips on either side of the socket to secure it.
Do not plug the other end of the power adaptor into the wall outlet yet.
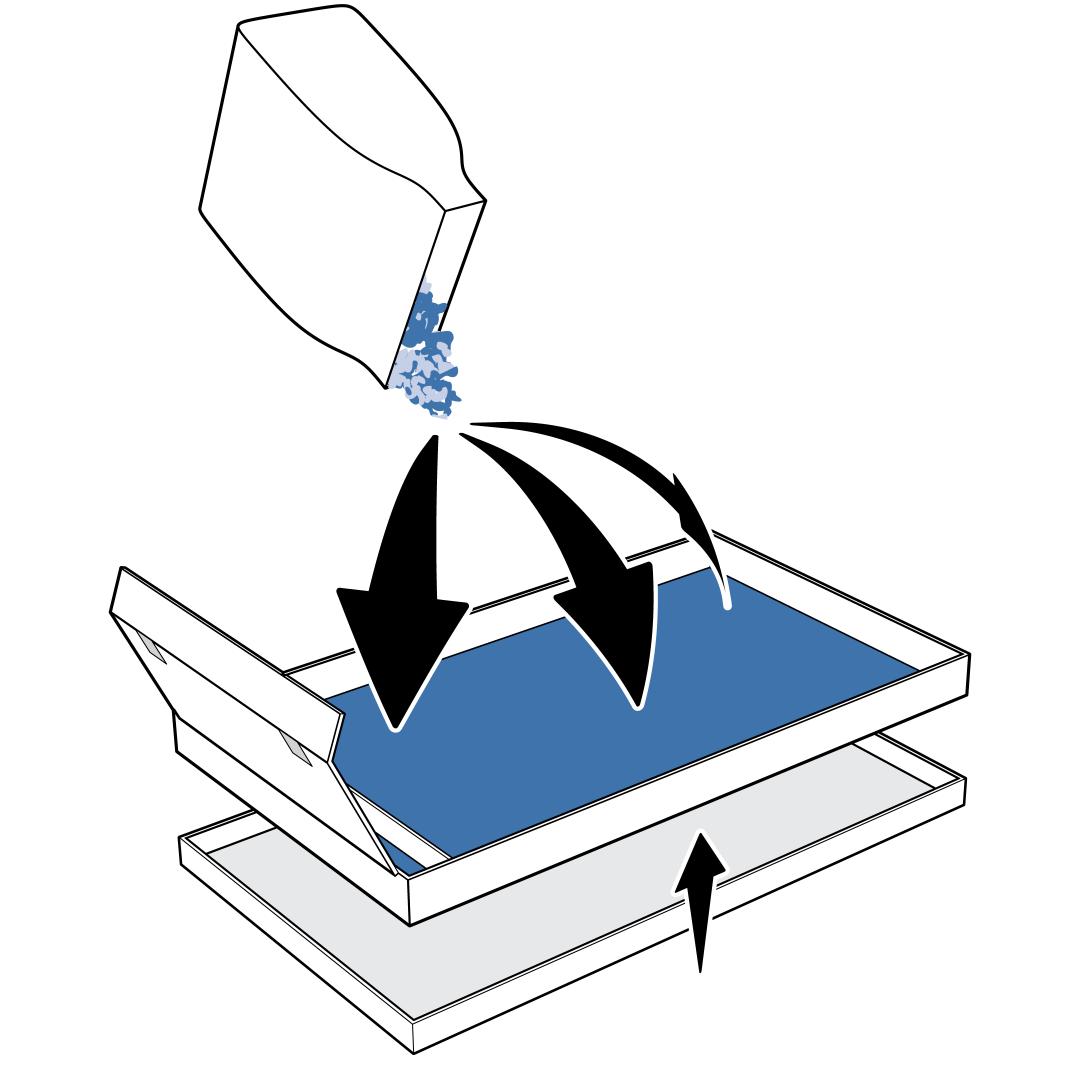
Pour litter into the litter tray. Spread it evenly. Sprinkle one handful of the litter under the waste trap. Place the lid under the litter tray. You’ll use this later when you change the litter tray.
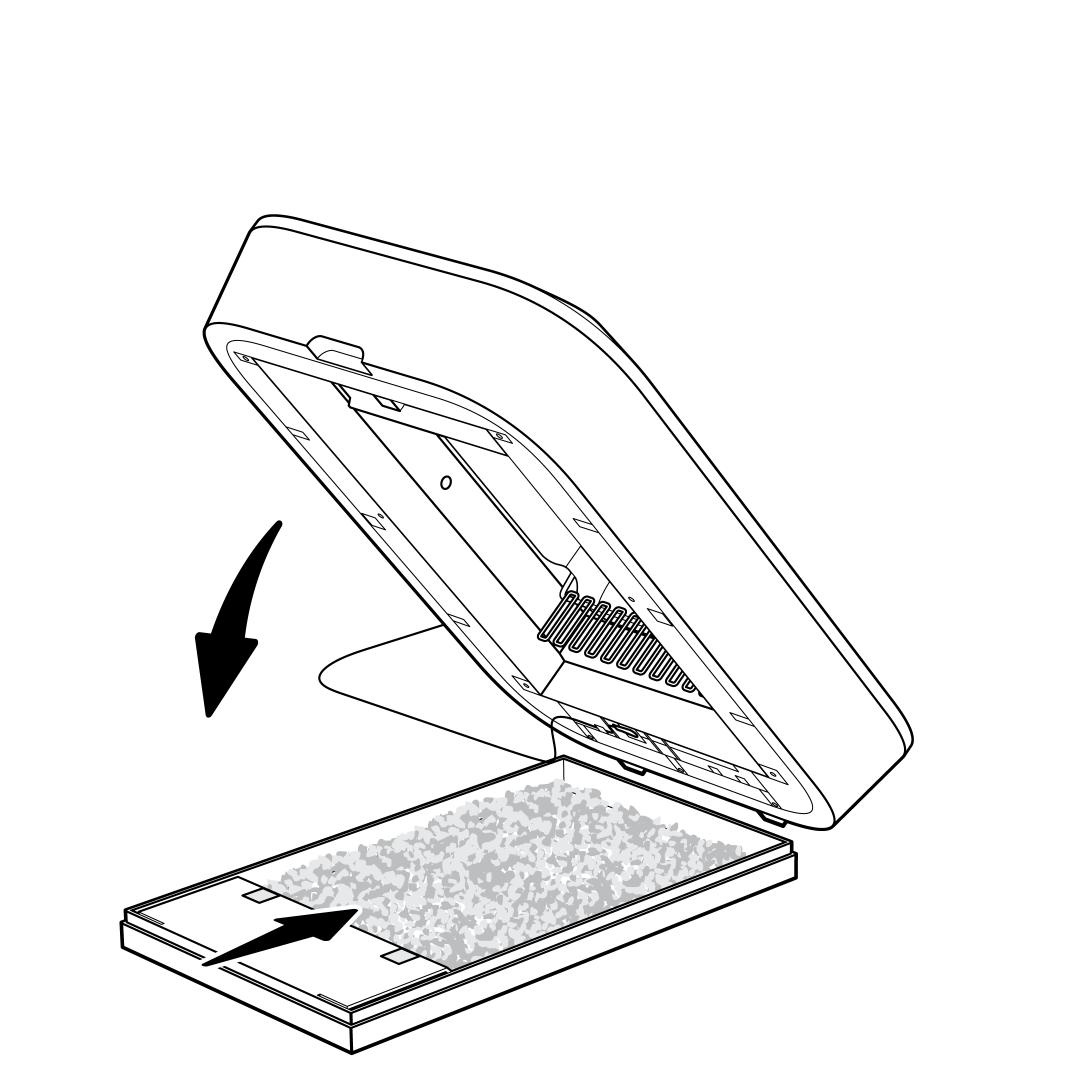
Using the handle, lift the front of the litter box frame and place the litter tray under it. Make sure the waste trap on the tray is under the waste trap cover on the litter box frame. Lower the frame. You’ll hear a click as the magnets on the waste trap cover connect with the magnets on the litter tray.
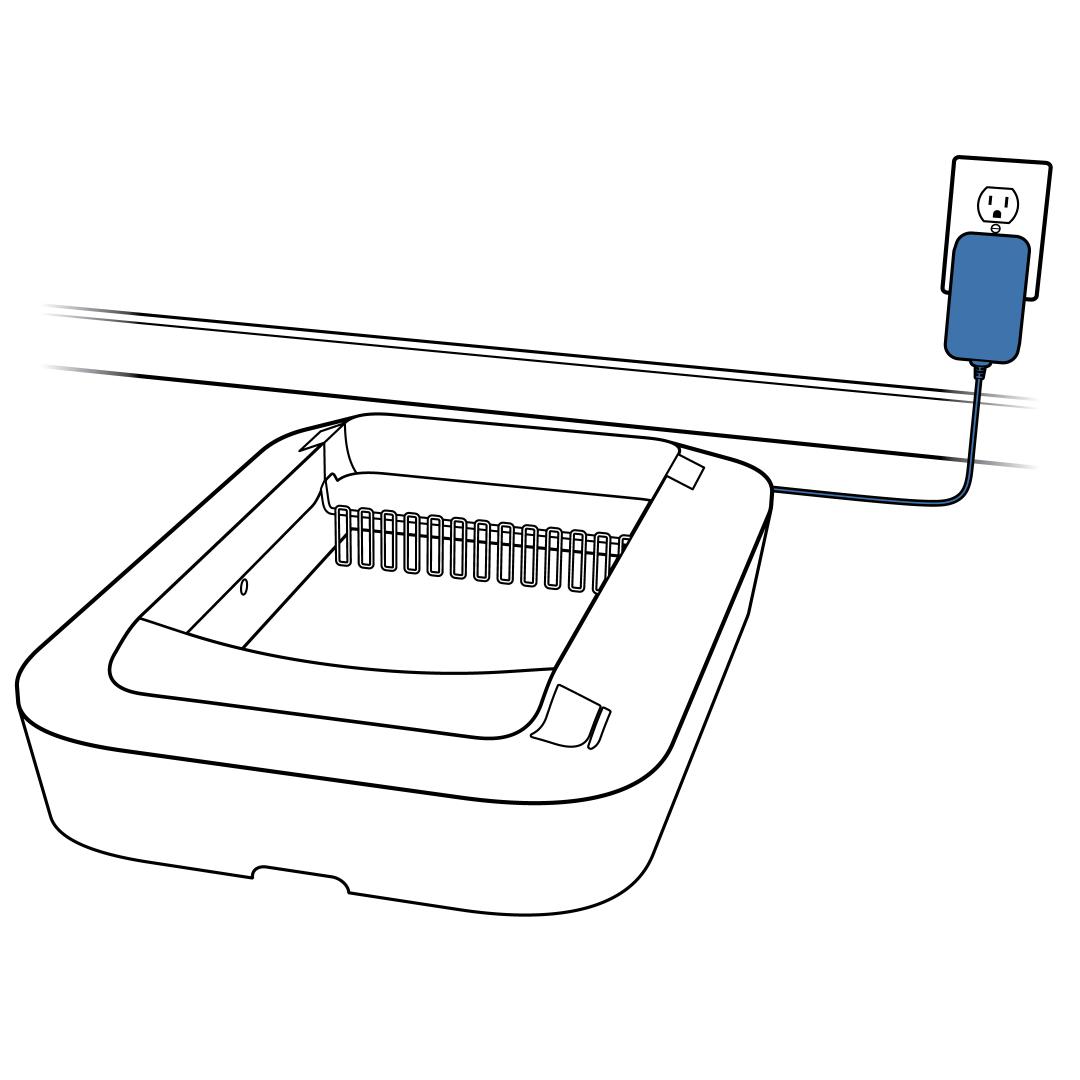
Plug the power adaptor into a wall outlet.
The litter box powers on, and the rake moves to the home position.
Important: If you have a kitten, leave the litter box unplugged until she is at least 6 months old.
For more information on acclimating your cat to the new litter box, visit How To Acclimate My Cat to the PetSafe® ScoopFree® Crystal Litter Box.