How to Use Your Happy Ride® Booster Seat
Table of Contents
Welcome
Welcome to your new Happy Ride® Booster Seat!
Keep in Mind:
A headrest is required for installation.
Acclimation time will vary with each pet.
Proper acclimation is essential for successful seat usage.
A harness will be needed to secure your pet in the seat.
Preparation
Have the following contents available prior to set up:
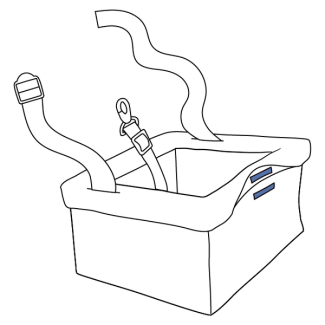
Basket

Support bracket
Fabric liner
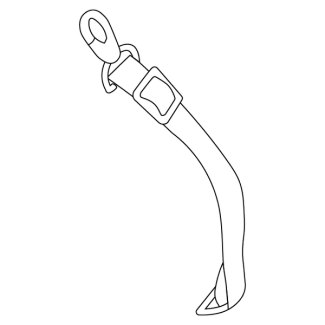
Safety leash
(Extra-large has two)
Support Bracket
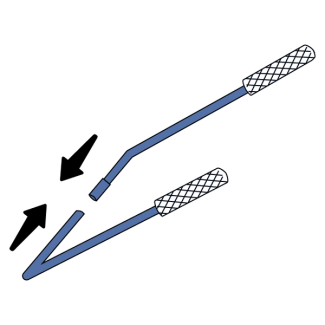
The support bracket for the extra large seat comes in two pieces. Connect the pieces before proceeding.
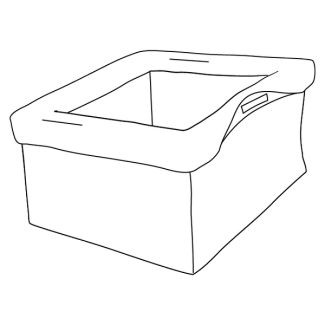
Step 1: Assembly
Place the support bracket in the back of the basket, closest to the D-ring.

Insert each end of the bracket into the rubber tubes at the front of the basket.

Connect the ring on the safety leash to the D-ring at the back of the basket.
Unbuckle the headrest strap.
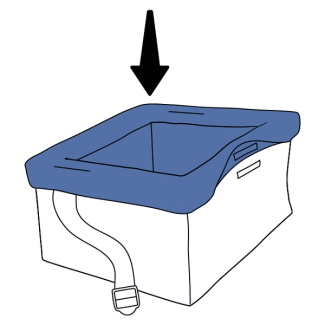
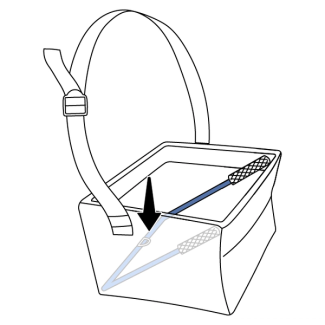
Insert the fabric liner.
Pull the headrest straps and safety leash through the slits in the liner.
Press the hook and loop fasteners on the liner and basket together to secure the liner.
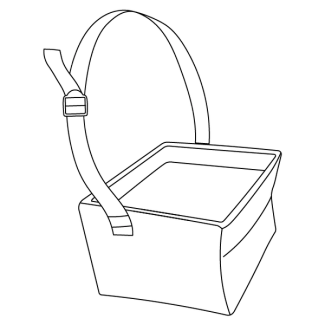
Step 2: Install in Vehicle
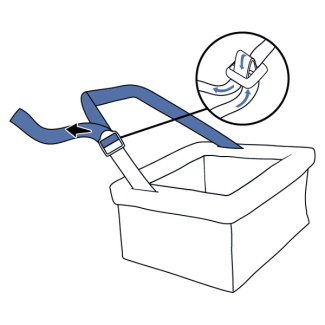
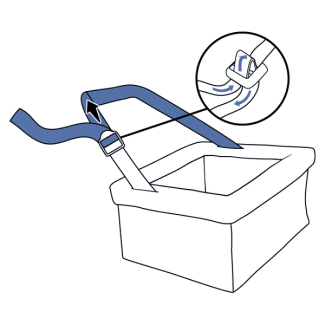
Refasten the headrest strap.
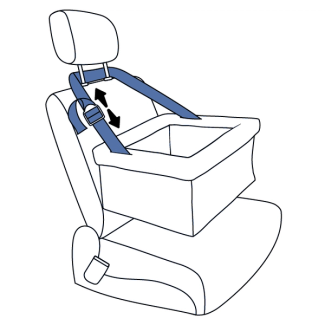
Loop the headrest strap over your vehicle’s headrest. Adjust until the seat is the desired height.
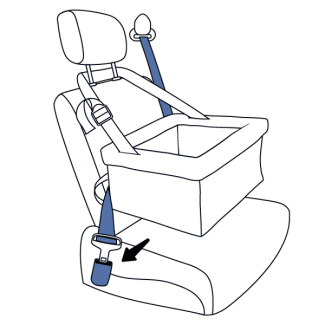
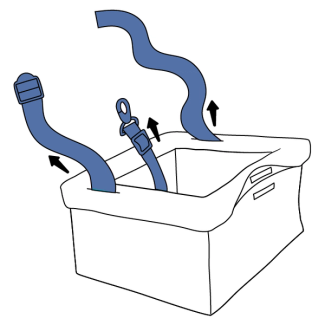
Run your vehicle’s seat belt through the loops on the back of the seat and buckle.
Important: Refer to your vehicle’s manual for information on locking the seat belt. This is typically found with information regarding child restraint installation.
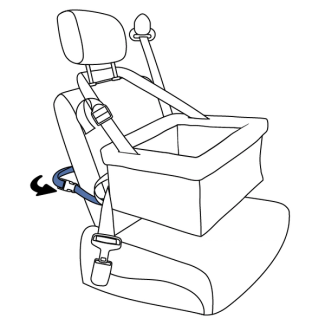
If attaching to a bucket seat, fasten the lower strap snugly around the back of the seat.
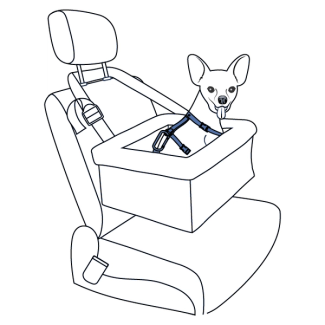
Once your pet has adjusted to the seat, attach the safety leash to his harness. Adjust the safety leash so that he cannot jump out of the seat.
Important: Do not attach the safety leash to your pet’s collar.
Contact Customer Care
If you need further assistance, please contact our customer care team.