Troubleshooting Your Pawz Away® Threshold Pet Barrier
Follow the steps below if you are experiencing an issue with the pet barrier.
What to Check
Base unit power.
Base unit range.
Collar power.
Collar activation.
Replace Base Unit Batteries

Remove the battery door on the back of the base unit and insert four AAA batteries.
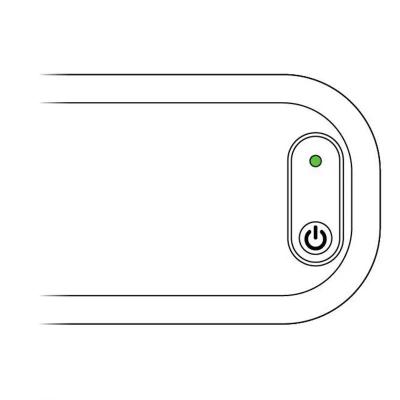
Hold the power button until a green light is seen to turn the base unit on.
Set the Range

Set the base unit to level 4 for testing purposes.
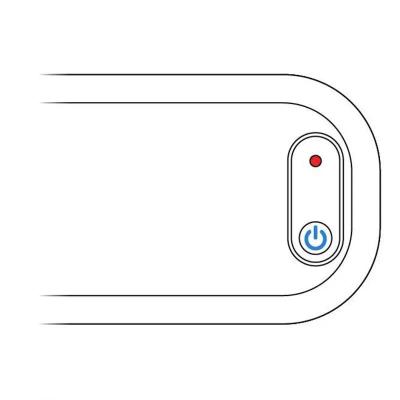
Press the power button and count the number of red flashes to know the current level. Quickly press the button again to change the level.
Pawz Away® Collar Power
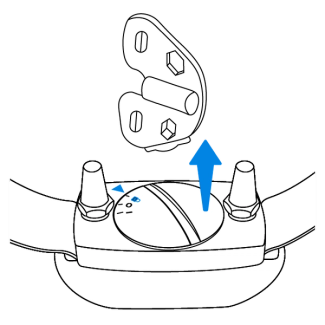
Turn the battery cap to the lock position using the test light tool, then remove the cap.

Insert two CR 2032 batteries into the battery cap, with the positive side going into the cap.
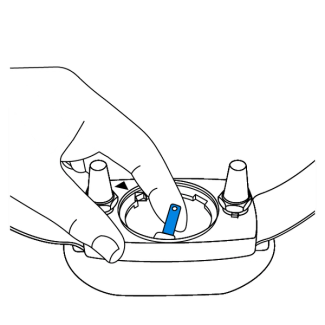
Slightly lift the metal tab inside the collar to ensure it touches the batteries.
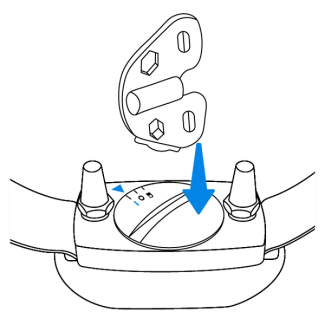
Place the battery cap into the collar, then use the test light tool to turn it to the on position.
Check YardMax® Collar Power
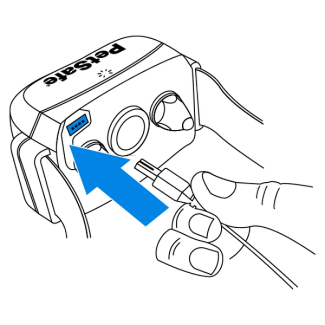
Plug the charger into the collar and check the light color.
- Charging: Wait up to 2 hours until the light turns green.
- Full charge: Remove from the charger.
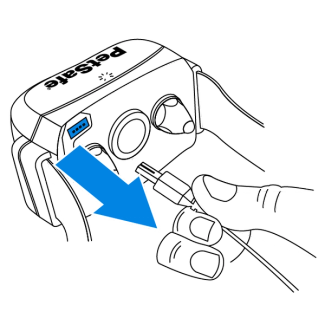
Remove from the charger to power it on. The number of red flashes that follow indicate the current collar level.
Test the Boundary

Hold the collar probes against the wire on the test light tool.

Position the collar under the tool and at the height of your pet.

Walk toward the barrier until the collar beeps and the test light tool flashes.

Check multiple angles around the area to ensure full coverage.
If the system works properly but your pet is not reacting, check the fit of the collar.
Contact Customer Care
If you need further assistance, please contact our customer care team.